
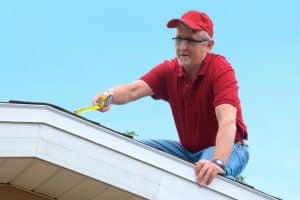
Why Is Venting Important? Tips for Protecting Your Home
As a homeowner, your roof venting play a crucial role in maintaining a healthy and functional roof. To ensure they stay in good shape, regular

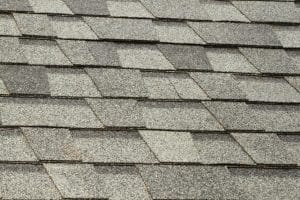
The Benefits of Installing a Shingle in Your Home
In our lives, we face many important decisions choosing the right shingle for your home is a decision that should not be taken lightly. The

Under the New Roof! What Risks Homebuyers Need to Know
When it comes to purchasing a home, there are many factors and Risks Homebuyers Need to Know. One important aspect that should not be overlooked

Building Fire Codes: An Increasing Danger to Homeowners
Roofers in Calgary and other cities follow building fire codes to keep homeowners safe. Yet, these codes sometimes unintentionally affect homes. For example, fire codes

How to Spot and Avoid Roofing Scams in Calgary
Roof repair scams are on the rise in Calgary due to harsh weather and a growing population. Roofing scams increase with many subpar roofing service
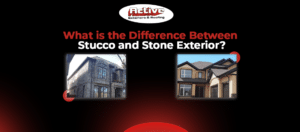
What is the Difference Between Stucco and Stone Exterior?
Stucco and stone are two popular exterior materials that can make your house look amazing, but they are pretty different. However, there are some key
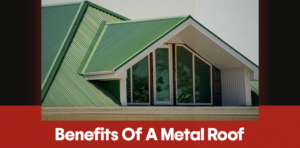
Benefits Of A Metal Roof
Metal roofs are built to last, with a lifespan spanning decades, making them an investment in your home’s future. They also excel in energy efficiency,
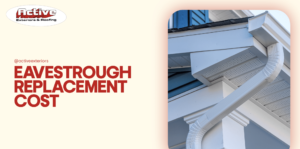
Eavestrough Replacement Cost
The cost of replacing eavestroughs can be anywhere from $500 to $2,000 for a professional eavestrough replacement contractor. But the final cost will depend on
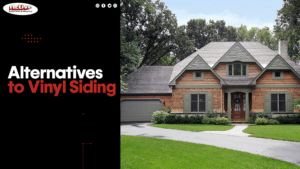
Alternatives to Vinyl Siding
Vinyl siding is a popular siding used in the United States. People love it because it’s cheap, durable, and comes in different colors and styles
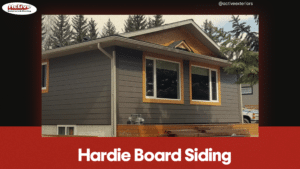
Hardie Board Siding
Want to boost your home’s appearance and make it more durable? Hardie Board Siding is the ideal choice for you. It’s tough, stylish, and built
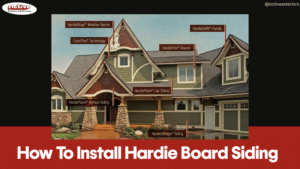
How To Install Hardie Board Siding
Hardie board, also known as fiber cement siding, is renowned for its strength, resistance to the elements, and timeless aesthetic appeal. Installing Hardie board siding
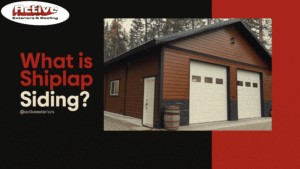
What is Shiplap Siding?
Lots of people are curious about shiplap siding. It’s a type of siding you can use inside or outside your house. Shiplap gives a mix
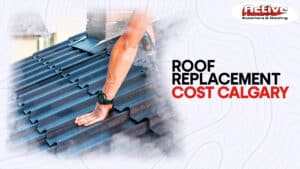
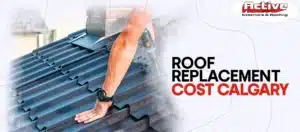
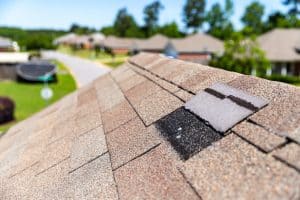
Roof Replacement Cost Calgary
In Calgary, Alberta, the cost of roof replacement varies by material. Expect to pay around $5,400 to $9,000 for asphalt shingles, $7,858 to $14,412 for
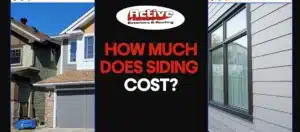
How Much Does Siding Cost?
The average cost for new siding is about $14,910 for a 2,500-square-foot house. But the price varies anywhere from $8,420 to $52,250. It depends on
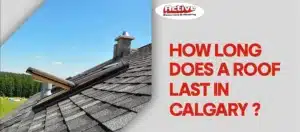
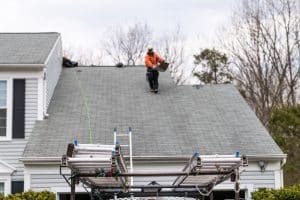
How Long Does a Roof Last in Calgary?
In Calgary, the average life expectancy of your roof depends on several factors. Typically, asphalt shingle roofs, the local standard, can last for about 15

How Much Does a New Roof Cost?
Qualities like durability and longevity are the most important factors to keep in mind when replacing a roof for your house. Roof replacement is necessary
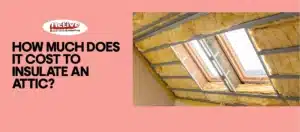
How Much Does it Cost to Insulate an Attic?
When it comes to the cost of insulating an attic, you might be wondering, ‘How much does it cost to insulate an attic?’ Well, the
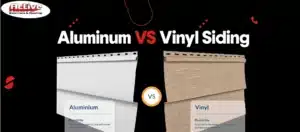
Aluminum vs Vinyl Siding
The material used to cover the outside of your home isn’t just for looks. Some of it does a better job at keeping your home
How Much it Costs to Replace a Roof
In Calgary, having a strong and visually appealing roof for your home is not only a trend, but also it is important for being environmentally

What is an Eavestrough?
It’s time to say Hello to spring, as winter in Canada is almost over. The days are not far when the snow on the roof
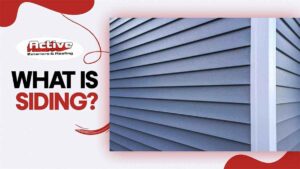
What is Siding?
Are you thinking of giving your home a new look on the outside? Siding is just like a protective layer that covers the outside walls

How Do I Update My 1980s Home’s Exterior?
If you own a home built in the 1980s, you may wonder how to update it’s exterior and give it a fresh new look. Fortunately,

Most Valuable Exterior Home Improvements to Add
When improving your home’s value, Calgary roofing contractors can tell you that the exterior is just as important as the interior. The exterior is the
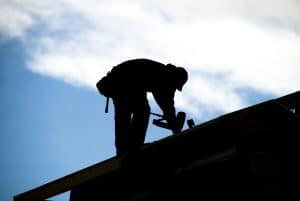
What Qualifications Should Roofers Have?
Are you in the middle of looking for roofing contractors in Calgary? If so, you need to ensure you have a professional handle it. Hiring
How Do I Know If My Roofer Did a Good Job?
Are you in the process of replacing or repairing your roof and need to hire a roofer? It’s important to ensure that you hire someone

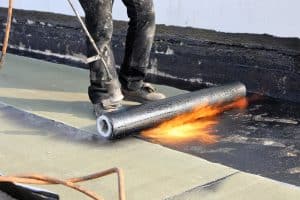
What to Put On a Flat Roof to Stop Leaks?
Leaks are bound to happen one way or another. No roof is immune to it – even flat roofs. Unlike other types of roof repair

How Often Should You Reseal a Flat Roof?
Proper maintenance of flat roofing in Calgary can do wonders toward extending its life. One common means of doing so is by knowing when to

What Flat Roof Lasts The Longest?
Typically, there are two roof coverings: either pitched or flat roofing in Calgary. Whatever the type of roofing, it should withstand the load while providing
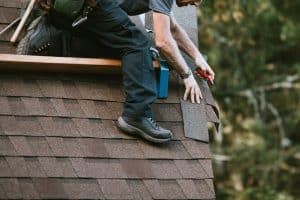
Asphalt vs. Fibreglass Shingles: What’s Best?
Asphalt and fibreglass shingles are two of the most common types of roofing shingles you can choose for your home’s roof. But which one is

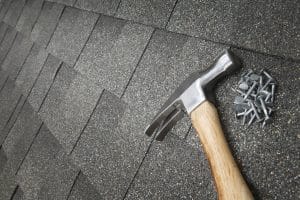
Are Thicker Roof Shingles Better?
Before jumping to the title, let us know what an actual roof shingle is. The roof shingles are nothing but roofing materials consisting of single

What is the Best Season to Get Roofing Done?
Regardless of how well you maintain your roof, there will come a time when you’ll need to either replace it or have some major repairs

What are Roof Trusses?
Everything you need to know about Roof Trusses When it comes to understanding different components of your roof, there are a lot of different names,
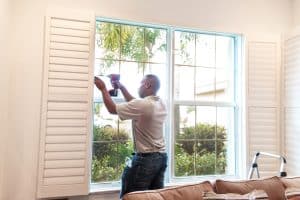
What Are the Costs of New Windows?
Replacing the windows in Calgary can be a significant investment that will enhance the appearance of a home, save your household money on utility bills,
How Long Does a Roof Last in Canada?
A roof has the vital role of protecting the home’s contents to keep it secure and safe. But much like every other part of the

How Much Does Insurance Pay for Hail Damage on Roof
When winter begins to loom, safe-keeping your roof is a must. Your roof is most susceptible to receiving the worst damage during the cold months
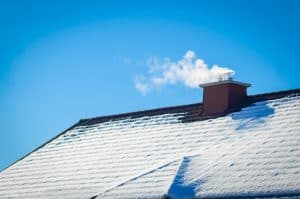
Roof Maintenance Tips For Winter
Getting your home ready for winter means preparing your roof to withstand the season’s harsh weather. Preventing damage from weather extremes common during the winter

Is Winter Good For Roof Replacement?
Roof replacement in Calgary can be a daunting task, especially in the winter. But Is Winter Good For Roof Replacement? The answer is, it depends.

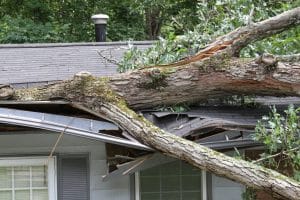
The Interior Signs of Roof Damage
Your roof is a crucial element of your home’s structure and works hard to maintain the integrity of your home. However, a damaged roof can
Flat Roof Repair Costs: What To Expect
Living in Calgary, it’s likely you’re no stranger to hail damage. While flat roofs are incredibly durable and designed for commercial use, it doesn’t mean

How Often Should You Replace Your Roof?
Your roof is an integral part of your home. It works hard to protect you and your family from those extreme Canadian temperatures and pesky
Key Considerations For Roof Replacement
Part of maintaining your home and its structure is by looking for roof replacement in Calgary when it starts to show signs of ageing or

The Cost of Residential Roof Repair
Canadians are no strangers to bad weather. While hail storms may not be a surprise to us, it doesn’t mean we get used to the
Should I Get Roof Insurance?
Your roof is one of the most important parts of your home, guaranteeing you protection and safety from the outside world. Unfortunately, sometimes those factors

How Much For Siding Replacement?
Installed and managed correctly, siding can last between 10 to 50 years. Unfortunately, even if you do everything in your power to maintain it, you
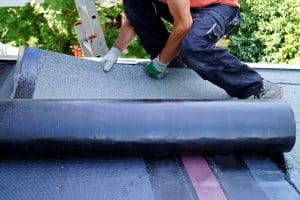
What is The Best Flat Roofing Material?
Flat roofing in Calgary is a popular choice for many residential and commercial properties. Choosing the right roofing material for the flat roof is where

Hail Damage Repair Costs in Calgary
Hailstorms can strike fast and hard, resulting in your home’s roof or exteriors being severely damaged. You’ll find poor insulation, higher energy bills and reduced

Can You Do Roof Repairs in Winter?
Our roofs are an essential part of the overall structure of your home. They keep out the worst weather elements and prevent moisture from covering
The Cost to Replace Soffit & Fascia
The cost of replacing soffit & fascia in Calgary depends on several factors. These factors include the company performing the work, the materials you are

What Is The Best House Siding?
The best siding in Calgary is the kind that protects your home indefinitely and never requires repair. However, we have not yet made a substance
The Average Cost of a New Roof in Calgary
There comes a time when your roof has to be replaced. When should you do it? And most importantly, how much does it cost? Before